
Sanding belts are the critical working consumables for any belt sander. Even if you own a high‑quality belt‑sander tool, wrong sanding‑belt choice frequently causes frustrating issues including leftover scratches, weak stock‑removal capacity, early belt failure, and burnt workpieces.
Many buyers only pay attention to the belt‑sander machine itself but ignore proper matching of belt dimensions, abrasive types and grit grades.
This guide is designed to help DIY hobbyists, woodworkers and renovation contractors confidently choose and use compatible sanding belts. It covers key technical parameters, abrasive material options, grit classification, dimension checking, wear‑judgement tips, FAQs, quick‑reference lookup tables and field‑proven operational best practices.
1. Sanding‑Belt Key Specs: How Specs Affect Finishing Results
A sanding belt is far more than a simple loop of sandpaper. Several critical parameters directly determine overall sanding performance.
- Grit Size: European FEPA-P grading system uses the prefix “P” for grit markings (e.g. P40, P80, P120). Lower numbers correspond to larger, coarser abrasive grains for aggressive stock removal. Higher numbers indicate finer grains intended for surface smoothing rather than heavy cutting.
- Abrasive Material: Refers to the raw material of abrasive grains. It defines belt durability, workpiece compatibility and heat-resistance, representing one of the most important selection criteria.
- Backing Material: Classified into flexible cloth backing and rigid cloth backing. Rigid backing delivers high tensile strength for heavy-duty flat-surface grinding. Flexible backing offers good conformability for curved and contoured workpieces. Most portable belt sanders employ heavy-duty X-weight cloth backing for tear-resistance under tension.
- Belt Dimensions (Width × Length): Sanding belts must precisely match the roller geometry of your belt sander; cross-model compatibility does not exist. Dimensions are printed on the reverse side of the belt, on the sander base-plate nameplate and within the operator manual.
- Grain Coating Density (Closed-coat / Open-coat): Open-coat belts feature gaps between abrasive grains. They resist loading from wood dust and resin and work best on soft wood and painted surfaces. Closed-coat belts have densely packed grains for aggressive cutting, suited for hard-wood and metal heavy-duty applications.
2. Sanding‑Belt Abrasives: Which Material to Pick?
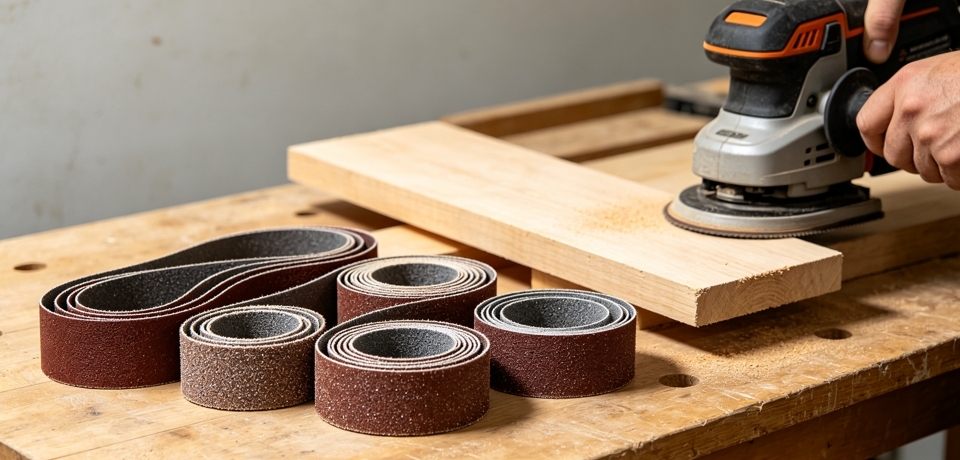
Each abrasive type has distinct strengths. Always select according to your workpiece material rather than automatically purchasing premium-priced products.
- Aluminium-Oxide Belts: The most versatile and cost-effective option. Suitable for softwood, hardwood, mild steel and aluminium. It wears gradually without sudden grain failure and is the first choice for general-purpose DIY work. Both closed-coat and open-coat variants are available. Open-coat versions greatly reduce loading when sanding resin-rich softwoods such as pine.
- Zirconia-Alumina Belts: Features self-sharpening behaviour: worn grains fracture to continuously expose fresh sharp cutting edges. It offers substantially higher wear resistance compared with aluminium oxide. Ideal for hardwood grinding, weld-seam dressing and rough stainless-steel work for continuous high-load site operations. Higher unit cost compared to standard aluminium-oxide belts.
- Ceramic-Abrasive Belts: Professional-industrial grade. It is the hardest widely-used abrasive for belt-sander applications, delivering low-heat cutting for hardened steel and exotic high-density hardwoods. Service life is outstanding under sustained heavy-duty use, though purchase costs are high. Not generally required for casual home-based DIY projects.
- Silicon-Carbide Belts: Produces sharp, hard-cutting grains. Mainly deployed for brittle materials, glass, composite substrates and wet-grinding workflows. Less common for general dry wood-sand applications.
Backing-material note: Rigid backing is recommended for forceful flat-surface stock removal. Flexible backing is preferred for curved and contoured components.
3. Sanding‑Belt Grit Guide: Grit Levels & Practical Uses
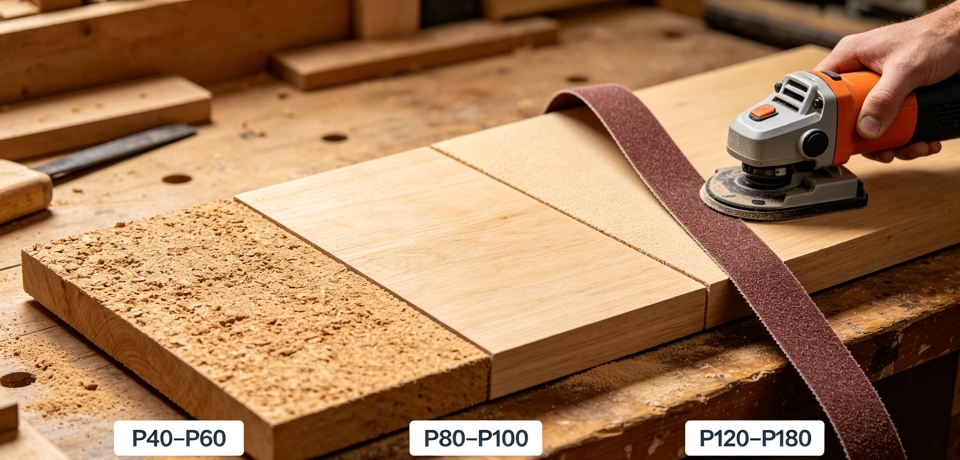
Core sanding principle: work from coarse to fine grits in sequential steps. Avoid large jumps between grit grades. Each grit grade removes scratches created by the preceding grade. Jumping directly from P40 to P120 leaves deep coarse scratches embedded within the surface; these scratches will remain visible and become accentuated after staining or finishing coats are applied.
| Grit Classification | FEPA-P Grit Range | Primary Applications | Application Notes |
| Extra-Coarse | P24-P36 | Heavy stock removal, floor resurfacing, levelling severely warped panels | Extremely aggressive cutting; generates deep scratches. Minimise use on soft timber. |
| Coarse | P40-P60 | Stripping old paint and varnish, rough-sawn timber dressing, weld-scar removal | P40 delivers very aggressive cutting. Prefer P60 as your starting point for pre-machined or previously-finished wood. |
| Medium | P80-P100 | General woodworking sanding, removal of coarse-grit scratches, pre-finishing surface preparation | Workhorse grit range for woodworking. P80 eliminates coarse-grade damage; P100 produces surfaces ready for staining, oiling or painting. |
| Fine | P120-P180 | Pre-finishing smoothing, inter-coat sanding between finish layers | For light-cut operations with the belt sander. At this stage, switch to a random-orbit sander to achieve finer, more consistent scratch patterns. |
Practical workflow recommendation for most solid-wood workpieces: P60 → P80 → P120 → P150-P180. Do not skip two or more consecutive grit grades.
4. How to Find the Correct Sanding‑Belt Size for Your Sander
Sanding-belt sizes are non-interchangeable across different machines.
Confirm OEM specification: Refer to equipment nameplate, user manual or inspect the reverse face of your original worn sanding belt.
Common portable-sander dimensions:
- 75 × 533 mm (3 × 21 inch): Mainstream consumer-grade size with abundant aftermarket belt availability.
- 100 × 610 mm (4 × 24 inch): Heavy-duty portable format with larger contact sanding area.
- Narrow file-sander belts: 9 mm / 13 mm widths for tight-corner and groove access.
- Wide-belt stationary sanders: Large-format industrial belts must strictly match equipment specifications; custom-manufactured belts may be required.
Important warning: Never estimate dimensions visually. Minor deviations in width or length will lead to fit failure, belt tracking drift and premature tearing.
5. When Should You Replace Your Worn Sanding Belt?
Do not wait for complete physical rupture before replacing belts. Replace or service your belt once you observe any of the following conditions:
- Material-removal rate drops noticeably and you must apply excessive manual pressure to achieve cutting action.
- Glazing: The belt surface develops a shiny polished appearance indicating blunted abrasive grains.
- Random burn or scorch marks appear on workpieces, most evident on timber substrates.
- Edge fraying or joint delamination on the belt loop.
Distinguish belt loading from permanent wear: Loading occurs when wood resin and sawdust fill gaps between abrasive grains, creating a dusty, clogged surface. Light loading can be cleared by tapping the belt against a hard surface or running it briefly over scrap stock. If cutting performance does not recover after cleaning, replace the belt. Continuing to operate with a worn glazed belt risks thermal workpiece damage. The consequential costs of burnt or spoiled material outweigh the modest cost of replacement belts.
6. Sanding‑Belt Buying & Usage Frequently Asked Questions (FAQ)
Q1: Does a higher grit number always deliver better sanding quality?
A: No. Higher-grit belts remove very little stock. Applying fine grit directly to heavily uneven surfaces wastes consumables and fails to level defects. Always follow a coarse-to-fine sequential workflow.
Q2: For equal grit values, when should I choose aluminium-oxide versus zirconia-alumina belts?
A: Aluminium-oxide belts offer the best value for general home woodworking. Upgrade to zirconia-alumina if you regularly process dense hardwoods, grind welds or run extended continuous site operations. Ceramic abrasive belts are rarely necessary for typical DIY tasks.
Q3: Can I skip intermediate grits and go directly from P60 to P180?
A: Not recommended. Deep scratches created by P60 will not be fully erased by P180 and will show through stains and topcoats, requiring full re-sanding. Do not jump more than one or two sequential grit grades.
Q4: My sanding belt drifts and tears frequently. Is the belt itself defective?
A: Not necessarily. First verify proper adjustment of your sander’s belt-tracking knob and roller alignment. Secondly double-check that belt dimensions precisely match your tool. Only suspect poor belt quality once mechanical setup and sizing have been confirmed correct.
Q5: My belts load very rapidly when sanding softwood. How can I mitigate this?
A: Select open-coat aluminium-oxide belts; avoid excessive down-force during sanding; periodically clean accumulated residue using a belt-cleaning stick; avoid starting sanding operations with overly-fine grit.
Q6: What shelf-life do sanding belts have and how should they be stored?
A: The resin bonding system of sanding belts degrades over time. Store belts away from high-temperature and high-humidity conditions. Store flat or vertically hanging; avoid heavy compression and direct sunlight. Aim to use stock within 1-2 years of purchase.
7. Sanding-Belt Installation & Operational Best Practices
- Confirm rotational direction before fitting: The directional arrow printed on the belt splice must align with the sander’s running direction. Fitting backwards will cause rapid splice failure and tearing.
- Always perform belt-tracking adjustment after installing a new belt to maintain centred travel and prevent housing-rubbing damage.
- Do not apply heavy manual pressure to increase cutting speed. The sander’s own dead weight supplies sufficient working pressure. Excessive force creates overheating, belt glazing, workpiece burning and accelerates premature consumable failure.
- Progress sequentially through grit grades. Ensure all scratches from the prior grit are fully eliminated before moving to a finer belt.
- Use open-coat belts for resin-rich softwood. Periodically remove built-up wood dust and pitch residue from belt surfaces.
- Wear safety goggles and dust-respiratory protection during all sanding work. Take adequate spark-protection precautions for metal-grinding tasks.
- Avoid extensive fine-grit (above P180) work using a belt sander, as tracking-related surface marks are more likely to occur. A random orbit sander delivers superior fine-finishing performance.
- Never fold or heavily compress stored belts. High heat and humidity accelerate adhesive degradation and shorten usable service life.
Summary: When purchasing tools, first verify dimensional compatibility with your machine. Second select abrasive material based on your workpiece. Third choose appropriate grit according to your process workflow. Following the coarse-to-fine sanding sequence delivers far better finishing results than simply purchasing high-priced premium imported belts.