
Wondering why your automatic screw feeder keeps jamming? Learn the most common causes, professional troubleshooting steps, and proven prevention tips to fix repeated bench-top screw feeder jams and stabilize your assembly line production.
If your automatic screw feeder suffers from frequent jamming, random blockages, or inconsistent screw feeding during daily assembly operations, you are facing one of the most common and costly issues in electronics, appliance, and automotive manufacturing. Persistent screw feeder jams drastically slow down manual and robotic assembly cycles, cause unplanned production downtime, reduce worker efficiency, and lower overall workshop throughput. Whether you are using a digging-type automatic screw feeder or a turntable automatic screw feeder, jamming problems can occur at any stage — even on newly installed devices — if your screw specifications, machine settings, or daily maintenance routines do not match the equipment’s working requirements.
Most assembly operators assume screw jams are caused by simple machine defects. In reality, repeated blockages result from a combination of overlooked factors, including incompatible screw sizes, oily or deformed fasteners, incorrect feeding speed adjustments, accumulated dust and debris, and worn internal feeding components. Understanding these hidden root causes is the key to eliminating recurring jams and extending the service life of your feeding equipment. In this comprehensive troubleshooting guide, we systematically explain why automatic screw feeders jam, share practical step-by-step solutions, and offer professional preventive advice to help factories achieve stable, long-term feeding performance.
Top Reasons Your Feeder Keeps Jamming
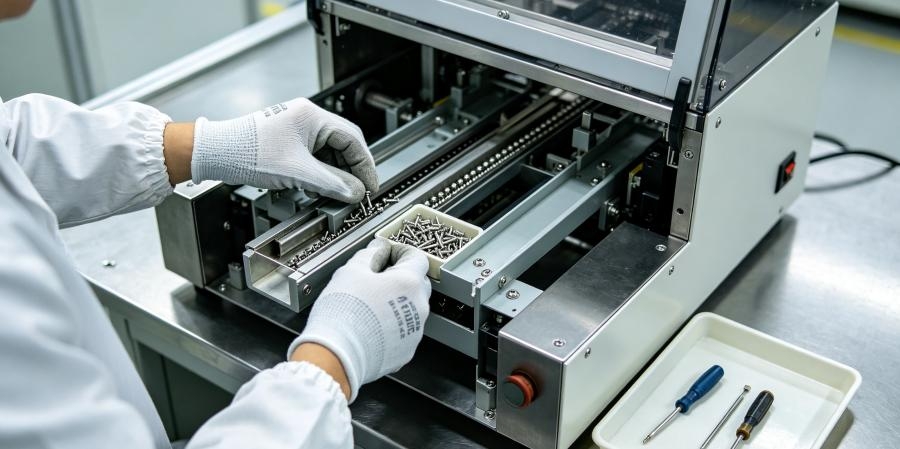
1. Screw Specification Mismatch
This is the most frequent cause of repeated jams. Every bench-top feeder is built for a specific range of screw size, length and head shape. Using fasteners outside the rated parameters will lead to overlapping, tangling and blockages.
- Screws that are too long for the feeder track can hook onto one another.
- Oversized screw heads cannot pass smoothly through sorting channels.
- Mixed screw types inside the hopper cause misorientation and stacking.
Even if the thread diameter matches, longer screw length may still trigger constant jams. For example, a feeder rated for M1.4–M5.0 screws with a maximum length of 20 mm should not be loaded with longer fasteners, even if the thread size appears compatible.
2. Contaminated or Damaged Screws
Dust, metal shavings, oil, grease or burrs on screws disrupt alignment inside the feeding path.
- Oily screws stick together and clump inside the hopper.
- Screws with burrs or deformed heads get caught on guide rails and slots.
- Dirty fasteners leave residue that builds up over time and narrows feeding tracks.
This problem is common in workshops where screws are stored in open bins or handled with oily gloves. Even a small amount of oil can change how screws slide and separate. For micro screws, contamination has an even greater impact because the sorting slots are very small.
3. Wrong Machine Adjustment
Improper tuning directly affects feeding stability. Common adjustment errors include:
- Feeder speed set too high, so screws do not have enough time to orient correctly.
- Track width incorrectly calibrated for your screw head dimension.
- Hopper filled too full, excess screw weight compresses fasteners and creates tangles.
Operators sometimes increase speed to improve output, but higher speed can reduce sorting accuracy. If the feeder is running faster than the screws can be separated, jams become more likely. Correct adjustment should always follow the operation manual and the recommended screw range.
4. Worn Internal Components
Continuous operation slowly wears moving parts.
- Scratched or worn guide tracks catch screw heads.
- Aging turntable slots no longer hold screws securely.
- Damaged digging arm fails to separate screws cleanly, leading to overlapping fasteners.
Wear is normal after long production runs, but it should be inspected regularly. If worn parts are not replaced, the feeder may jam more frequently even when screw specifications and settings are correct.
5. Poor Workshop Operating Environment
Heavy dust, metal debris and vibration from nearby machinery impact feeder performance. Dust accumulates inside the sorting channel and creates friction, making smooth screw separation harder.
Vibration is another hidden cause. If the feeder is placed on a workbench that shakes during other operations, screws may move out of position before they reach the outlet. A stable, clean workstation helps maintain consistent feeding.
Quick Troubleshooting Table for Common Jams
| Jam Symptom | Likely Root Cause | Immediate Fix |
| Screws tangle and stack inside the hopper | Overfilled hopper, oily screws or wrong screw specs | Empty excess screws, clean hopper, verify if screws fit feeder rated range |
| Screws get stuck at the sorting track outlet | Incorrect track width, burrs on fasteners | Adjust track gap; inspect screws for deformation and burrs |
| Intermittent random jams (works sometimes) | Dust/debris buildup inside channels | Stop machine and fully clean hopper, track and turntable slots |
| Jams start after months of stable operation | Worn internal mechanical parts | Inspect digging arm, turntable and guide rails; replace worn components |
| Micro screws frequently jam in turntable feeder | Tiny fasteners slipping out of slots, high feeding speed | Reduce feeding speed; use adsorption turntable feeder designed for micro screws |
Note: This troubleshooting table applies to bench-top digging and turntable automatic screw feeders. Always power off the machine before cleaning or inspecting internal parts for safety.
Step-by-step Jam Troubleshooting Workflow
- Power off the unit first. Never clear jams while the feeder is powered up to avoid injury or equipment damage.
- Empty the hopper. Remove all remaining screws and check for deformed or contaminated fasteners.
- Inspect the feeding track and outlet. Look for trapped screws, metal shavings or oil residue. Clean the whole path.
- Double-check screw specs. Confirm screw length, head diameter and thread size match the feeder model limits.
- Review machine settings. Slow down feeding speed if screws cannot align reliably.
- Test with a small batch of clean, undamaged screws. Run a short test to confirm whether the jam issue returns.
Practical Tips to Prevent Repeated Jams
1. Match Screw Specs Before Purchase
Choose the feeder model based on your actual screw samples, not just thread size. For example, a small standard turntable feeder may be rated for M0.8–M2.0 micro screws with a total length of ≤8 mm. If you need to handle slightly larger micro screws, an adsorption turntable model such as the turntable automatic screw feeder with M0.8–M5.0 can support screws up to M5.0 with a length of ≤19 mm. Digging-type feeders are generally used for standard M1.4–M5.0 screws up to 20 mm. Always check the rated screw range and length limit before purchase, because a feeder that looks similar may not handle your actual fasteners.
2. Keep Screws Clean and Separate
Store screws in sealed containers to avoid dust and oil contamination. Never mix multiple screw sizes in one hopper. Remove any deformed or burred screws before loading them into the feeder.
If your production uses more than one screw size, clean the hopper and feeding track between batches. Mixed screws are a major cause of jams because different head shapes and lengths cannot pass through the same sorting channel reliably.
3. Follow Recommended Hopper Loading Level
Do not overfill the hopper. Too many screws press against each other and increase tangling. Refill the hopper at the recommended level suggested in the operation manual.
For high-volume production, it is better to refill frequently than to overload the hopper. Overloading can also put extra stress on the digging arm or turntable motor, reducing service life.
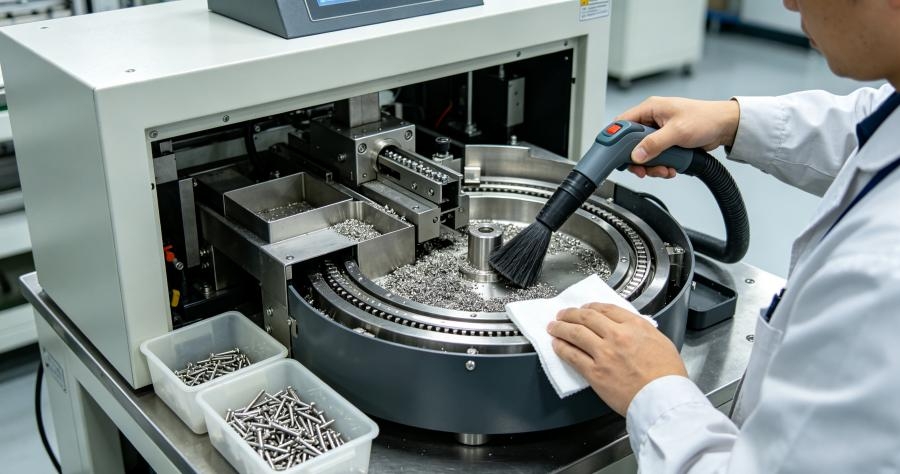
4. Schedule Regular Maintenance
- Build a simple daily and weekly maintenance routine:
- Daily: Clean hopper and feeding track to wipe away oil and metal dust.
- Weekly: Inspect guide rails, turntable slots or digging arm for scratches and wear.
- Replace worn parts promptly before they cause repeated jamming.
For adsorption turntable models, also check the vacuum system periodically. A weak vacuum can cause micro screws to sit incorrectly in their slots, leading to feeding errors.
5. Stabilise Your Workshop Environment
Place the feeder on a flat, solid workbench away from strong vibration sources. Keep the workstation clean to reduce metal dust falling into the feeder mechanism.
If possible, use a dedicated assembly station with stable power and minimal foot traffic. A clean and stable environment is especially important for micro screw feeding, where small disturbances can affect sorting accuracy.
When It Is Time to Upgrade Your Screw Feeder
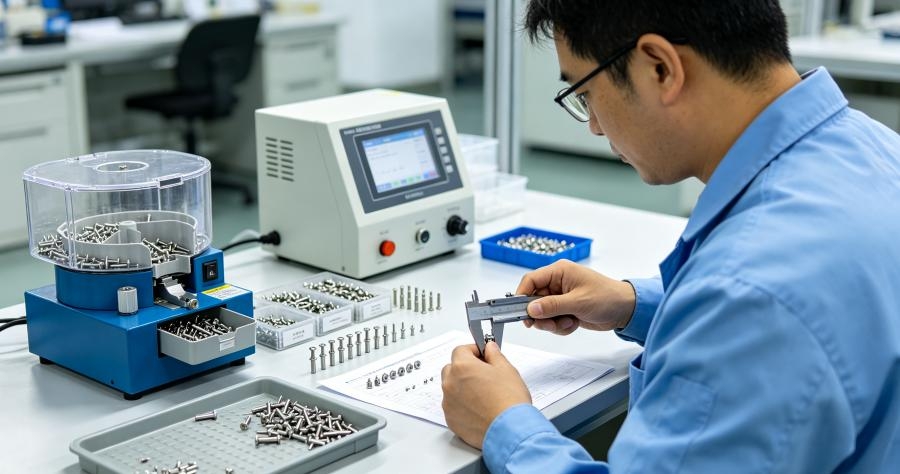
Troubleshooting and maintenance can fix most jams. However, constant recurring blockages may mean your current feeder is not suitable for your fasteners.
Digging automatic screw feeders are designed for standard screws M1.4–M5.0 with a maximum length of 20 mm. They use a rotating digging arm to stir and separate screws, and they are a practical choice for manual assembly stations with medium production volumes. The digging automatic screw feeder with M1.4–M5.0 offers 60–180 screws per minute and a hopper capacity of 200–220 cc.
Turntable automatic screw feeders are available in standard and adsorption versions. The M0.8–M2.0 turntable automatic screw feeder is suitable for very small screws with a total length of ≤8 mm. For higher precision and better stability, adsorption turntable models use vacuum assistance to hold screws in position. This design is especially effective for micro screws that tend to tangle or slip.
FAQ: Common Feeder Jam Questions
Q1: Why does my automatic screw feeder keep jamming?
A: Common causes include screw specification mismatch, dirty or damaged screws, wrong track width, feeding speed set too high, worn internal parts, and a dusty or vibrating workshop environment.
Q2: Can a digging screw feeder handle micro screws?
A: A digging feeder is generally designed for standard screws such as M1.4–M5.0 with a maximum length of 20 mm. For micro screws below M1.4, an adsorption turntable feeder is usually a better choice because it holds each screw more securely.
Q3: Which model is best for M0.8 micro screws?
A: The Turntable Small Automatic Screw Feeder, M0.8–M2.0 is suitable for very small screws with a total length of ≤8 mm. If you need a wider range up to M5.0, consider the Turntable Automatic Screw Feeder, M0.8–M5.0 adsorption model.
Q4: How often should I clean my screw feeder?
A: Clean the hopper and feeding track daily, especially when using oily or coated screws. Inspect guide rails, turntable slots, or the digging arm weekly. For adsorption models, check the vacuum system periodically.
Q5: When should I replace my screw feeder?
A: If jams continue after cleaning, adjustment, and part replacement, the feeder may not match your screw specifications. In that case, choose a model with the correct screw size range and length limi.
Final Summary
Frequent jamming in an automatic screw feeder is not inevitable. Most blockages stem from a combination of factors, including mismatched screw specifications, contaminated or damaged fasteners, improper machine adjustment, worn internal components, and a lack of regular cleaning and preventive maintenance. Whether you operate a digging-type screw feeder or a turntable automatic screw feeder, understanding the root cause is the first step toward reliable, consistent feeding. By identifying the specific reason behind each jam and following a steady maintenance routine—such as cleaning the hopper and feeding track, inspecting screws for burrs or oil, and confirming the rated screw range and length limit—you can drastically reduce assembly line downtime caused by jams. With the right troubleshooting approach, even micro screw feeding and high-precision assembly can run smoothly.
When choosing a replacement or upgrading your feeder, match the machine to your actual screw samples rather than thread size alone. For standard M1.4–M5.0 screws up to 20 mm, a digging-type automatic screw feeder can be a practical and cost-effective option for manual assembly stations. For micro screws from M0.8 or applications requiring higher positioning accuracy, an adsorption turntable automatic screw feeder is often the better choice. Before purchase tools, confirm the rated screw range, maximum screw length, head shape, and surface coating. If possible, test your screws to ensure the feeder will run with minimal jamming on your production line.